Thursday, April 23, 2015

Button Fayre's ***SPRING MARKET NIGHT***


The spring market night is almost upon us and my excitation is mounting with the thrill of organising the whole thing, the thrill of sewing for it ( and making sure I get enough done in time ), and the buzz it gives you to actually have some stock because believe it or not, this is the first time in over 6 months that I've actually made lots of yummy goodies that aren't specific orders.

This year's been wonderful for Button Fayre so far, so much has been going on, and I'm really enjoying where 2015 is taking me, it's definately a direction I like!
So, what's in store for Saturday night's market night then?  Well, if you've been to a Button Fayre market night before then you'll know it's a fun couple of hours, hosted on Facebook, where you can expect to browse at your leasure through all of the beautiful items up for grabs ( and a lot of them brand new, exclusive, designs! ) and play a couple of games where the winner's will be sent a prize, just a little something to say thank you once again as I'm all about that and think it's so important to give something back once in a while.

The direct link to the preview album is below and I hope you enjoy taking a look, it's all bright, fun, and happy this spring at Button Fayre.

https://www.facebook.com/media/set/?set=a.417470378432860.1073741911.115156331997601&type=1


As you can see, it's all about colour and I do love to fill my surrounding's with lots of colour because it makes me feel happy.  

On to another important subject....my loyalty cards are ready and looking so gorgeous, I'm absolutely thrilled to bits with them and it'll feel so wonderful to be able to send them out as I've wanted some for so long now and am thrilled to have found ' Handmade Cards By Hazel ' on Facebook, thank you Hazel.


This blog post has some wonderful photos today and I'm leaving you with this fabulous photo of my new vintage sewing box, found yesterday in a brocante, I'm rather a lot in love with it as it just screams Button Fayre and is proudly sat next to the lampshade I made a couple of weeks ago.

I'll hopefully see you on Saturday for the market night,

Lucy x 


Friday, March 27, 2015

Giveaway time!


I love running a giveaway and this one's a sweet one just to say thank you for the continued support of my work.

I'll be adding a few of these lavender houses into my upcoming market night in April ( date yet to be confirmed ) and they're so pretty, freehand machine embroidered, and rather quirky.

I'm itching to have a go at my new lampshade kits which arrived with my father from the UK last Sunday....I've been so busy this week that it took me until Wednesday evening to open the box but I can tell you that they're rather fancy, fantastic, kits and I can't wait to be able to offer them to you.  I need to get sewing to see what I can come up with, it's a very exciting start to the spring for me.

Best of luck with the giveaway and to enter please visit my Facebook page, link below.

www.facebook.com/ButtonFayre

Lucy x 


Thursday, March 19, 2015

Tea cup pin cushion tutorial


This is a an easy peasy tutorial for a beautiful tea cup pin cushion and will take you around 10 minutes to complete.

You will need :

A tea cup
Needle and thread
Wadding
A small piece of fabric
Strong glue


Do you have a lovely tea cup already?  Maybe you'll need to go on the hunt for one and I love nothing more than stalking all of the local brocantes where I live.
The tea cup in the photo is a small one I found for 50 centimes.

Here goes and enjoy!

Step 1.  Draw a circle on to your piece of fabric ( accurately is preferable with a compas ).  The size   of the circle depends on the size of your tea cup and to give you an example, my tea cup circumference is 8cm and so I've chosen the circumference of my fabric circle to be 18cm.
Cut the circle out.


Step 2.  Hand sew large gaps, around 2cm apart, around the edge of the circle staying as close to the   edge as you can.  (  Make sure you leave enough thread hanging at the start as you will be pulling       both ends together to gather up your fabric in a minute ).


           You can just about make out the needle and thread positioning in the photo above, sorry for                the quality of the photo!


Step 3.  Gather the fabric gently by pulling both ends of thread together, leaving a gap for the           stuffing.
You're actually making a simple suffolk puff!


Step 4.  Place your stuffing inside, pull tightly closed and tie the ends together with a double or triple knot.


Step 5. Turn the right way up so that the underneath doesn't show and using a strong glue, place and fix into your tea cup.


Step 6.  You're done, the only thing left to do is to add your pins.


Well done and I hope you enjoyed the tutorial.

Lucy x


Wednesday, March 11, 2015

Cushion spring offer


I'm running a super duper ***SPRING OFFER*** for cushions on Button Fayre's Facebook page which is very exciting. 
Each cushion is a fixed price of £30 for a limited period only and so if you've been looking for something unique for yourself, or as a gift, then look no further.

If you'd like to benefit from this offer then please do send me a message to discuss requirements and cat cushions are always popular but I love having a go at anything.

This offer runs until 15th April 2015 and you can get in touch with me on either of the the links below.

www.buttonfayre.com

www.facebook.com/ButtonFayre


I wrote a lovely blog post about general things happening with Button Fayre recently, yesterday, and that's on my website blog ( link above ) if you'd like to have a read.

See you soon!

Lucy x


Saturday, February 28, 2015

Bean Bag Tutorial


My children are on their two week half term and it's been pretty miserable outside, we've even had snow on occassions!

So, what better way to encourage indoor play ( and develop hand/eye co-ordination and fine motor skills ) than to get sewing some simple bean bags....easy peasy.

This is a very simple, and fast, tutorial that anyone can do, even with limited sewing skills.  The best part is that if you don't have a sewing machine you can still do it with a needle and thread which may take a little longer but will be worth the wait.

Enjoy!

Step one :  Cut out square or rectangular shapes with fabric ( I used a mix of vintage and modern fabrics for mine ).  Measurements don't really matter as long as your edges are even and I measured mine at 10cm x 15cm for the rectangular ones and 10cm x 10cm for the square ones.

Step two :  Fold each cut shape in half and simply sew around the edges, making sure to leave a gap large enough to put your rice in ( this will be sewn up last ).

You will be left with something resembling this.


Trim the edges and cut away the corners but be careful not to cut into the stitching.  Then turn the right way around ready to stuff.

Step three :  Half fill each sewn shape with rice, or any dried food ( half because there needs to be room for manoeuvre when thrown around ).

Step four :  Tuck the open edges ( the gap you left ) inside and then sew right along that edge, making sure you secure the ends properly.

*  The gap could be hand sewn closed for a neater finish.


You should end up with some bean bags resembling these, yay!


Why not try adding faces, whiskers, buttons, in fact, any kind of embellishments to make the bean bags fun?!
Here's a couple of cat additions I've added to the collection and my 3 year old twins have played with these rather a lot in the last few days since I made them.  They've been used in catching games, play kitchen games and even put into the back of dumper trucks.


Have fun with your children and I hope you enjoyed the tutorial.

Lucy x


Monday, February 23, 2015

Giveaway time on Button Fayre!


I've, very shamefully, been meaning to write a quick blog about this giveaway for a week now and just haven't found the time but better late than never I say!

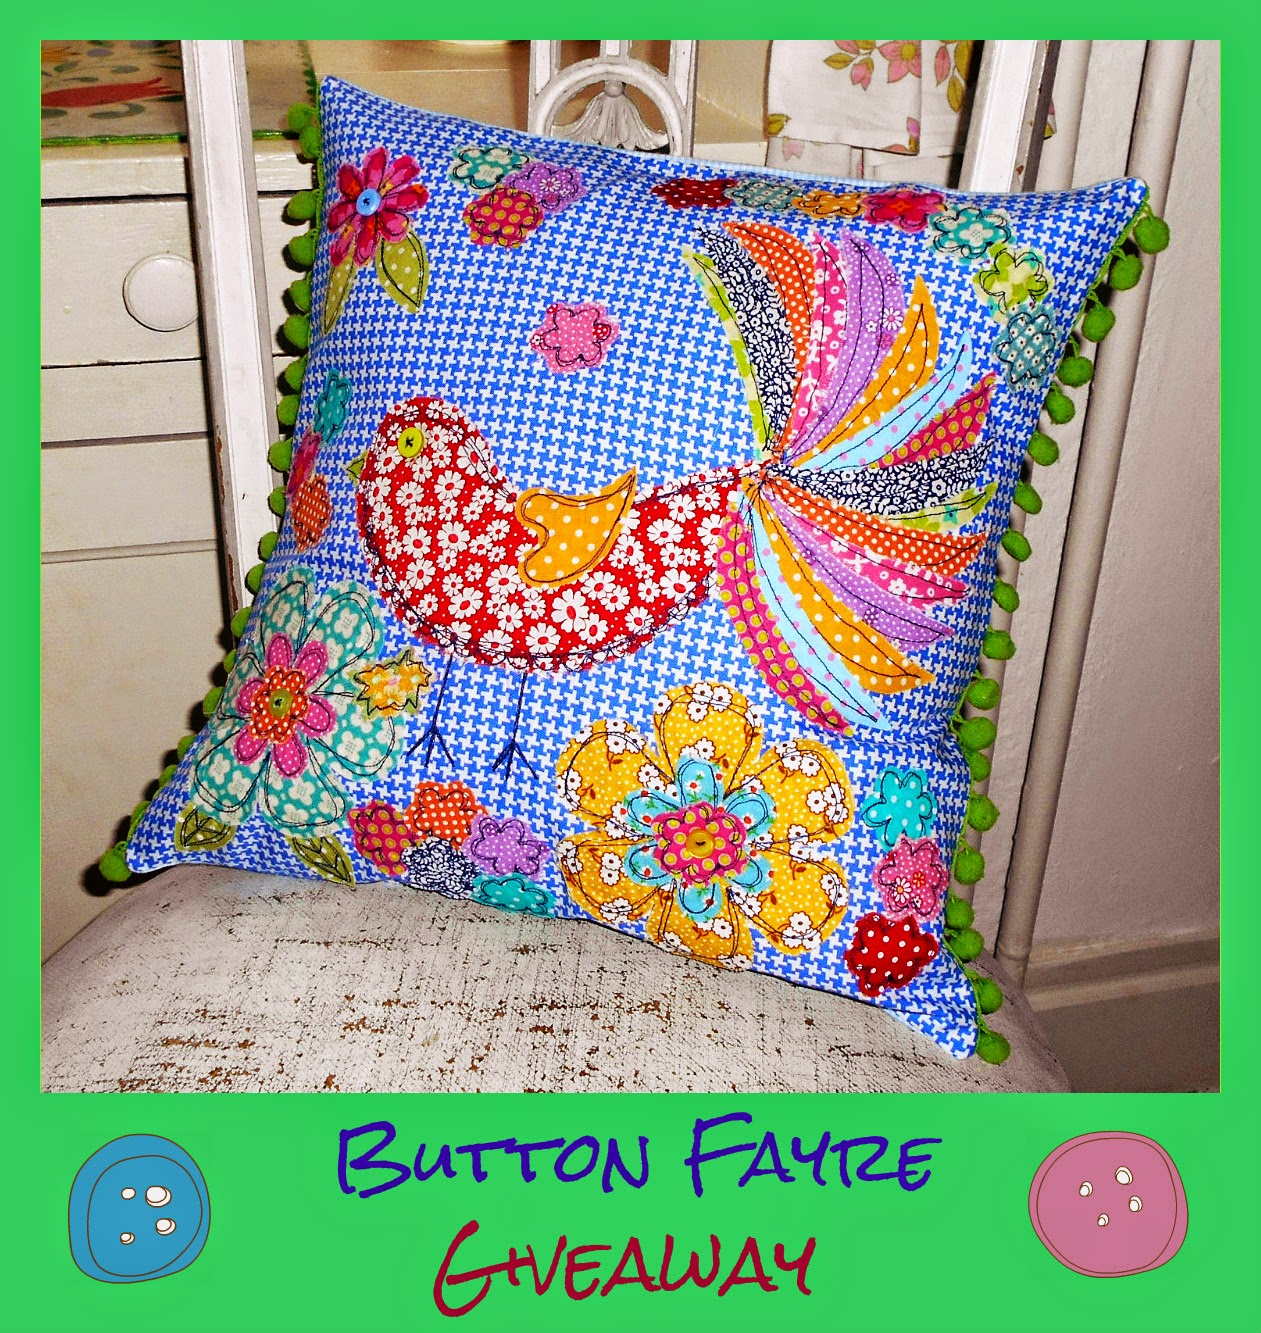
So, this is just a quickie to let you know that Button Fayre on Facebook is currently running a beautiful giveaway for a cushion like this, head on over now to enter as there's  still a week left.


The ' Flirty Birdy ' design is so vibrantly beautiful and will be available as cushion designs, lampshades, placemats, coasters, pencil cases, make-up bags and more....in fact, I'd love to find the time to make myself a pair of curtains eventually using this design!

I'm feeling very humbled by all of the wonderful comments, compliments and shares so far for this giveaway and am very lucky and never forget this fact because setting up a business is scary stuff, building it up is extremely hard work ( and even scarier at times! ) and then maintaining it all and regularly networking and building relationships is so important to me and something every business should do.  
I've over 12,000 likes on my Facebook business page now and boy have I worked for every single one of them but more importantly, I've loved meeting wonderful new people, many of them like-minded, and making friendships along the way....it's one of the main things that keeps me going with it all and really does make me feel so happy.

Best of luck to all who enter this giveaway.

Lucy x


Saturday, January 31, 2015

Brand new cushion design for 2015 is complete


I'm so super excited, the cushion is complete and I've called it ' Yippetty Yo-Yo Flower ' cushion.

I hope you've enjoyed me on this blog journey through the progress of designing and sewing this up, it's taken it's time and has had to be done in several stages but it's a breath of colourful fresh air and will be hard to part with.


Using a few different techniques including freehand machine embroidery, 3D yo-yo flower shapes, fabric paints and lots of hand sewing, it's so scrummy and makes you want to eat it, he he he.

It's now for sale over at Button Fayre on Facebook if you want to give it a new home.

Happy Saturday!

Lucy x